
SeaRanchLodge.com is a participant in the Amazon Associate program and will earn from qualifying purchases.
One of the greatest satisfactions a person can get is by making something by themselves. And the happiness is doubled when it turns up being perfect. The same thing can be said about making bread, cutting into a soft, light, and airy loaf of bread is going to make you smile.
However, perfecting the art of making good bread is not easy. You will need some practice and, of course, need to know some dos and don’ts that will make sure your bread comes out of the oven looking, feeling, and tasting the way you want it to.
And here is all you need to know about how to make bread less dense.
Use Good Flour

When baking something like bread you need to make sure you have all the right ingredients and use the right quantity while baking, or else chances are the bread will not bake properly in the oven and you will have a flat and dense bread on your table, that is not what you would want after spending hours trying to make the bread.
Some people might not know, but there is a type of flour that is made specifically for baking bread, it is called bread flour. This is what you should try to use when you bake bread, even though using the all-purpose flour is fine too, but if you want the results to be the best, buy some bread flour.
Use Right Yeast

First of all, what is yeast, and why do you need it? It is a type of fungus that is used in cooking, especially to make bread, it helps the bread to rise and puff up when it is left to rest or put inside the oven to cook. So, if you want your bread to rise properly, then you must use yeast while forming the dough.
If you are using the active dry yeast, make sure you have fresh ones. And if they are damp or too old, they will not do their job properly. How can you tell if it is damp or stale?
You have to activate it with water and sugar, mix all of it together properly, and leave it to rest for 10 minutes. After the waiting time is over, you should see a layer of bubbles at the surface of the water. You can now use this mixture with the flour. If there is no bubble, then you know your yeast has gone bad.
One thing to keep in mind is that when using yeast, it is best to keep it out of direct contact with salt. Mix in the salt with the dough before you add in the yeast.
Adding Baking Soda

This is not something that we usually tend to do when baking bread, but more and more breadmakers are seeing how this actually does help the bread to be less dense. The baking soda helps with the fermentation process, and along with that, you can see a flaky texture when you cut into the bread once it is out of the oven. Just a dash and that should do the trick for you and your bread!
Forming the Mixture

So, now that your yeast has activated and you have sifted the flour and salt into a bowl, you can slowly start adding the water, sugar, and yeast mixture into the flour. Make sure you take your time with this step because you need to make sure the liquid-to-flour ratio is correct.
You would neither want a runny consistency, nor something too dry. Use a wooden spoon if you want to when you are mixing these two components together, because this is when the dough will be the stickiest, and you might have a hard time working with it with your hands.
When you see that the flour and the water have been incorporated together properly, you can take it out of the bowl and place it on your workspace where you can knead the dough properly.
Kneading the Dough

This is one of the most significant parts of making bread. The problem we have here is our impatience, we just want to be done with it. However, that won’t do, you need to put in some elbow grease while making the dough for bread.
You have to spend a good 10 minutes kneading the dough till you finally arrive at the right consistency. The technique you should use while kneading is pretty simple, push the dough out with your palm and then fold it back into itself.
The kneading is important here because you want the gluten inside to develop, that is what will make them have the bread-like texture, taste, and consistency as a good loaf of bread should have. You’ll know your dough is ready why you poke it with a finger, and it slowly goes back to its original form.
Let It Rest

The longer you let your dough rest, the better the bread is going to turn out. You want the flavors to develop in the bread by letting it rest. And you can do this for two hours or even a whole day, both of them are fine, but the latter is going to taste better.
For the resting process, all you have to do is oil a bowl and put the dough inside, then seal it will a cling wrap. You can leave it outside or inside the fridge; both should be fine.
The Bake

This part is probably the best part of the whole process as you don’t have to do anything, and the oven just brings all your hard work together. All you really have to do is keep an eye on the oven and the timer so that you don’t end up over baking it.
The first thing you need to keep in mind is to preheat the oven. Doing so for about 10 minutes should be fine. Not preheating the oven is one of the main reasons your bread might become very dense when it bakes. This will help the yeast stay activated and raise the bread, making it light.
For a regular-sized loaf of bread, you should set your oven to 450 degrees Fahrenheit for the first 15 minutes of the bake, the rest of the time you can slowly reduce the temperature.
Make sure the oven isn’t too hot, as that might kill the yeast, and then your bread will not rise the way you want it to. You want the yeast to be alive to do its job.
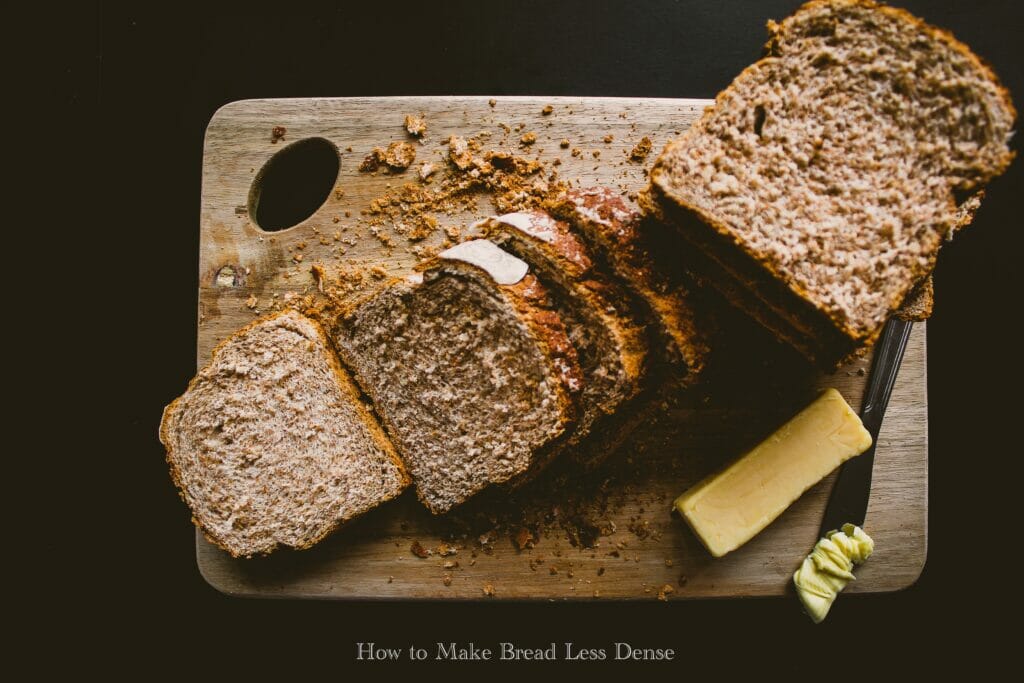
Why Is My Bread So Dense?
There might be a few reasons why your bread might come out of the oven feeling like a rock. Let’s get to know the reasons.
Gas
The main reason why bread rises is that the dough forms gas which allows the bread to rise, so if there is no gas created, you will be left with a dense bread.
Low Protein Content
The flour you used might have too low protein content. Bread flour has a 12-14% protein content, while all-purpose flour has around 10% protein. Using all-purpose flour might not be in your flavor. In this case, switch to bread flour for this. You could also choose wheat flour, which has around 15% protein, just what the bread needs.
Hot Environment
Another reason why this might happen is leaving the dough to proof/rest in a very hot environment. This will kill the yeast, and therefore your bread will not rise, leaving it flat, hard, and dense. The same will happen if you bake the bread in a very hot oven.
Too Much Salt
Adding too much salt will stop the dough from rising as well. If you add 2-3 cups of flour, you don’t have to add in more than one teaspoon of salt.
A Few Tips for You
So, when you are baking, just keep a few things in mind, which will help ensure your bread turns out the way you want to. The temperature of the resting place is important. Somewhere dry and warm is better than someplace hot. Chances are the kitchen will be hot and humid, so store it somewhere else.
Also, make sure you don’t over-proof your bread. That mistake is irreversible. Underproofing is still fine as you can leave the dough to rest for a little longer, and that should be enough to do the trick.
Conclusion
Making something for the first time is obviously not easy. You need to do it a few times before you understand how the whole thing works. It applies to make good bread as well.
Just follow the tips, and you should be able to say goodbye to dense bread!
More Kitchen Accessories: