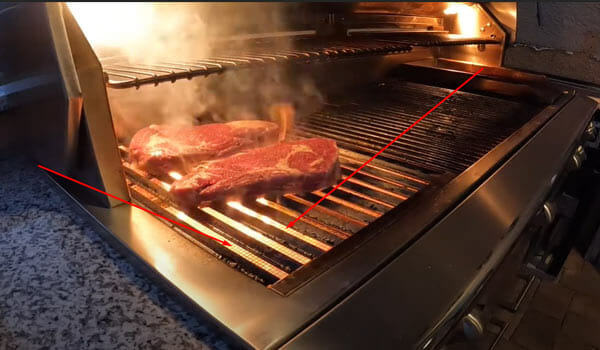
Gas grills are not like how they used to be in the past. They come with loads of features to enhance your overall cooking productivity. The searing station must be the most outstanding innovation among all of them. It has gone to a point where it is a must-have for gas grills.
But having a searing station is the first half of the story. If you do not know how to use a searing burner on a gas grill, that station will be pretty much useless for you. However, you have nothing to worry about. That's because you just stumbled upon the perfect guide. And it will teach the entire process in the easiest way ever.
What Is Sear Burner and What Are The Benefits of Using It?
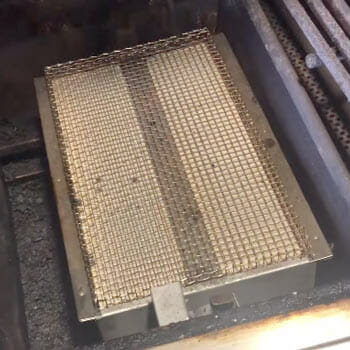
Before we take a deep dive into the guide, we would like to ensure that you have a fair idea of the sear station for a gas grill. The sear station will have multiple burners in it. The burners will be pretty close to one another, which is the first thing that makes the sear station different from other stations.
Due to the closely packed nature of the burners, the sear burner can create a hot zone in a small amount of time. That means your food will cook faster on the sear burner in comparison.
Now, if you can effortlessly sear foods on other burners, why should you use the sear burner? That's because compared to other burners, the sear station will get your foods ready in a short amount of time.
It should be your go-to option if you want to increase the pace of your cooking. In comparison, if you sear your foods in another cooking area, you will need to wait longer. The fast cooking method will even improve the overall taste of your food.
What Is The Purpose of Searing Meat?
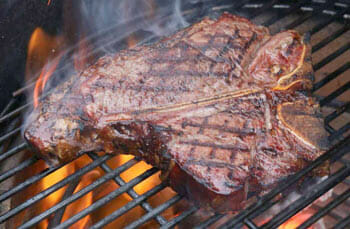
Want to make your meat get the most flavor? Learning how to sear them is the key! It will allow you to obtain the most flavorful steaks, roasts, chops, and many other meat-related dishes.
You caramelize the natural sugars in the meat when you sear meat. Along with that, you brown the proteins. Both of them will form a rich brown crust on the surface. And that brown crust will amplify the savory flavor of the finished dish.
In other words, steaks will become more savory, pot roast shaves and stews will have a richer flavor, and chicken will get a mouthwatering golden skin. So, if you were not searing the meat of your dishes, you have been missing out on a lot.
How To Use A Searing Burner On a Gas Grill? Step-by-Step Guide
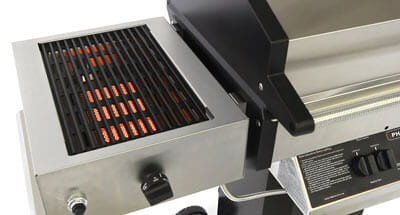
With all of the other things aside, let's now focus on the main part of the guide. So, to use the searing station of your gas grill, follow these steps:
Step 1: Get the ingredients.
Firstly, get all of the ingredients you want to work with. Keep them nearby because you will need to work quicker than usual.
Step 2: Prepare the dish.
Next, make sure all ingredients are at room temperature. Cold meat will take longer to cook. It will not even allow you to enjoy all of the searing burner's benefits. Then, season the meat properly. Without spicing it, you will not be capable of packing it with flavors.
Step 3: Oil the grate and preheat it
Get seasoning oil or cooking oil and put a couple of drops on the top of the grate. Turn it on and start the preheating process. Preheat the grate for at least 15 minutes and keep the lid closed during the entire process. The temperature inside should be around 300 to 400 degrees Fahrenheit.
Step 4: Place the meat in the searing station
Finally, you will need to place the meat on the burner. You should hear a satisfying sizzling sound right after placing the meat, which will tell you that your burner is at the correct temperature. Use a thermometer to ensure that the temperature stays in the proper range; around 300 to 400 degrees Fahrenheit.
Consider the size of the meat when searing. For example, if the meat is two to four inches thick, it will take two to three minutes. Rotate the meat and place it vertically for around one minute. And finally, flip the meat and let the other side cook properly.
When you are done with the searing station, you will need to cook the meat in indirect heating. After that, you can serve a flavor-packed, juicy, and mouthwatering meat.
Safety Tips While Using Sear Burner
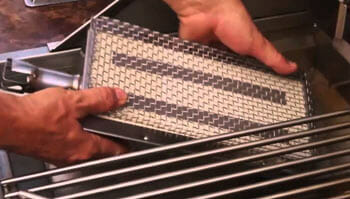
As the searing station will get hot in a short amount of time, you will need to keep a couple of things in mind. With those in your consideration, you will be able to prevent accidents while working with the burner. Nonetheless, the factors that we are referring to here are:
- Do not leave your grill unattended while cooking because the fire will not take long to heat the food.
- Clean the grill before using it. Also, use clean cooking ingredients and utensils. This small step will allow you to maintain the highest hygiene level.
- Do not entertain your pets or kids beside the grill
Frequently Asked Questions
Do all gas grills come with a searing burner?
Not really! Most of the older models will not have a searing station. Likewise, some extremely budget-friendly gas grills will not come with this burner.
Can you use sear burners as side burners?
Yes, you can use the sear burners as side burners. However, you need to consider that the sear burners will heat up more quickly than other burners. So, you need to manage the dish accordingly.
Final Words
See how easy it is to learn to use a searing burner on a gas grill? So, if you have a burning station on your gas grill, you should definitely use it for cooking meat. You will miss many flavors and a mouthwatering crispy exterior if you do not.
Up Next: Do deep cleaning your weber gas grill burner tubes to follow some steps.
SeaRanchLodge.com is a participant in the Amazon Associate program and will earn from qualifying purchases.


