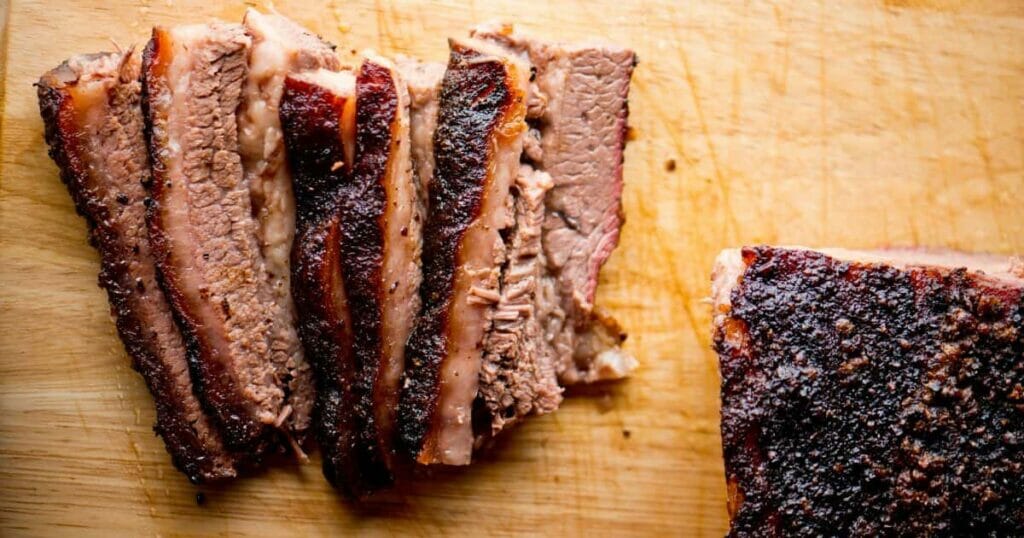
A brisket is one of those things that you don’t just decide to throw in the oven. It takes a lot of thought and preparation, not only because it’s a complex dish to get right but also because it can be quite big. After all, some brisket pieces can weigh up to 10 pounds, which means there will be quite a lot of cooking involved.
Unless you have the entire neighborhood over for dinner, it’s understandable that at least some of the brisket might end up as leftovers. Then, you’ll have an important decision to make—whether you want to turn it into some other dish, put it in the fridge and eat it within a few days, or freeze it and get to eat it some other time.
In any case, you might need to do a bit of reheating before you get to eat the brisket. When that time comes around, we’re here to guide you through the process. In today's guide, we’ll cover the basics of how to reheat brisket, as well as the top three methods that can get you a juicy beef brisket that will taste as if it were cooked then and there. Let's get right into it!
How to Reheat Brisket: Top 3 Methods
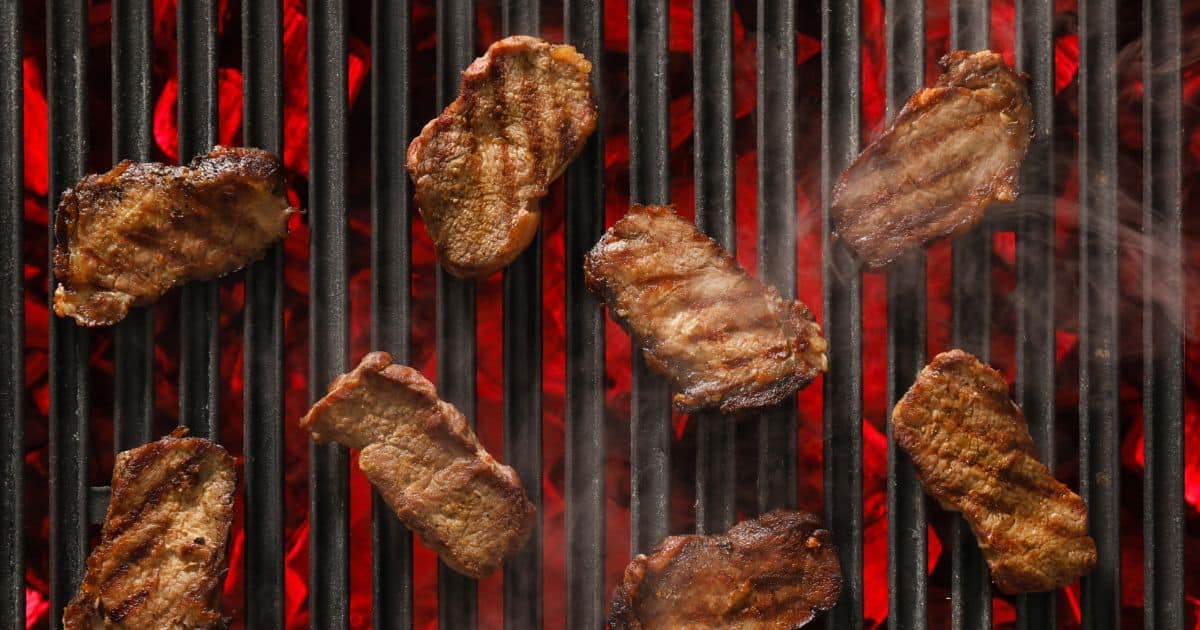
There are three main methods that you should use to reheat leftover brisket—the oven, the smoker or grill, or a sous vide device. Don’t let anyone tell you you can do it otherwise—especially if they suggest using the microwave. That’s a big no-no, and you’ll come to see why after the first time you try using the microwave to reheat even a slice of brisket.
Essentially, the microwave takes all of the moisture in the food that it is heating and turns it into steam. For some foods, that doesn’t make much of a difference.
But for something such as brisket, taking out all of the moisture means that you’ll be left with a piece of meat that’s dry and flavorless. If you ask me, it would be quite a shame to do something like that to such a gorgeous piece of meat.
So, we’re glad we covered that—now, let's look into the methods we recommend you use to reheat any leftover meat, not only brisket. Let's get started with the ideal option—the oven!
Reheating Brisket in the Oven
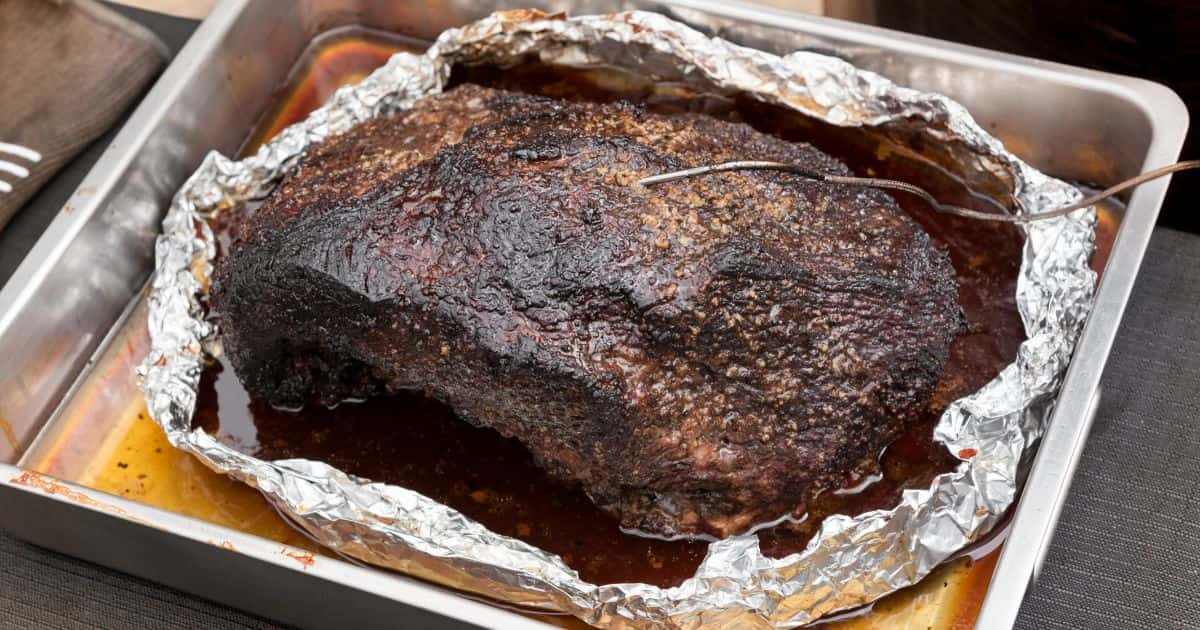
The reason why we think the oven method is the ideal or best option is that everyone has an oven. You might not own a smoker, but you definitely have a usable convection oven or even a regular conventional oven you use to make your food. You can certainly put any oven to good use for brisket.
But before you start reheating, an important thing to remember is that you must take the leftover brisket out of the freezer or the fridge and leave it to rest. If it had been in the freezer, you must let it unfreeze completely before you can do anything to it. You can move on to the actual reheating only after it reaches room temperature. Here’s how that will go:
- Step 1: Preheat your oven to a temperature between 225 and 250 degrees Fahrenheit.
- Step 2: While the oven is preheating, get the brisket ready. You can add it to an oven-proof pot that has a tight lid. If you don’t own such a pot, you can always use an oven rack and put the meat on it. That is, of course, only after wrapping it. For the wrapping, you’ll use two layers of aluminum foil, in which you’ll also put some butter, beef broth, or leftover juices to ensure the meat doesn’t dry out.
- Step 3: When the oven reaches the desired temperature, put the meat inside and leave it to reheat for 20 to 50 minutes. You can start checking its temperature after 20 minutes, as it’s imperative that you do not let the internal temperature go above 165 degrees Fahrenheit. Anything below that will also mean that the meat isn’t heated enough.
- Step 4: When checking the foil-wrapped brisket, try to see if there’s enough moisture left in the foil. If you think the meat has soaked up all the moisture, add a bit more butter or beef broth.
- Step 5: After the brisket reaches 165 degrees of internal temperature, remove it from the oven and the aluminum foil and leave it to rest for a few minutes before slicing it and serving it.
Some chefs don’t recommend wrapping brisket in tin foil, but we’ve found that cooking it only in a pot can quickly cause it to become dry. For beginners, it’s better to keep the brisket inside aluminum foil to preserve as much moisture and flavor as possible.
Reheating Brisket with the Sous Vide Method
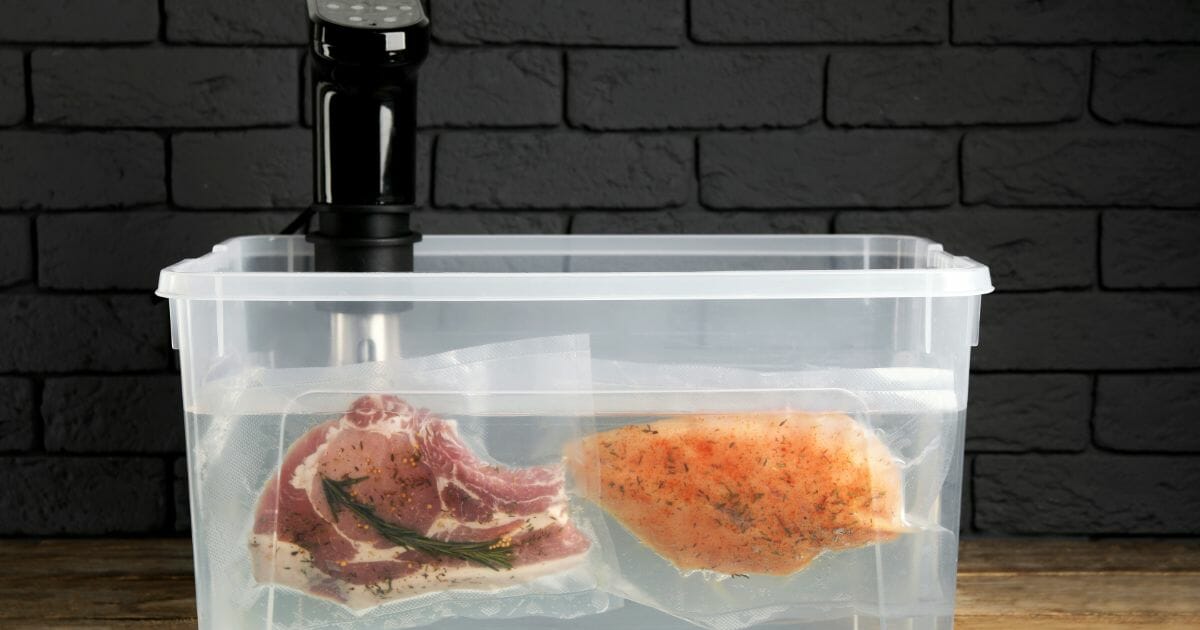
The second convenient brisket reheating method is the sous vide method. Now, this French-sounding name might make you think that there’s something extravagant going on with the brisket when it’s reheated like this. But that’s not really the case—what you do is give the brisket a water bath, that's all!
For this method, you’ll need to use sous vide, essentially a plastic or glass container where you put the food, paired with a thermostat to ensure the ideal temperature of the water and the meat. Sous vide might cost a few hundred dollars, but it’s a wise investment for people who often reheat leftovers or habitually make too much brisket.
The Anova Culinary Sous Vide Precision Cooker is a popular choice among culinary enthusiasts, but you can get any sous vide you like. After getting it, here’s what you should do:
- Step 1: Similar to what we mentioned before, start by unfreezing the brisket or leaving it to reach room temperature.
- Step 2: In the meantime, prepare the sous vide by adding as much water as needed. Turn the water thermometer to 165 degrees, as that will be the ideal internal temperature that you need the meat to adopt.
- Step 3: After the brisket has fully defrosted, you must put it in a special air-tight bag that doesn’t let any air or water in. Essentially, you need to vacuum seal the piece or slices of brisket, depending on what you have to work with.
- Step 4: Put the vacuumed meat into the water and let it heat. Depending on how large or thick the piece of brisket is, it could take 10 minutes or a few hours to reach the desired temperature.
- Step 5: You’ll know the meat is ready when it reaches the same temperature as the water. Then, get it out of the water and the plastic wrap, let the meat rest, and feast on it afterward.
While this is also a great way to reheat brisket, the problem is that it could take a long time to reheat a large piece of brisket. Also, some people are unwilling to invest in sous vide, which makes it impossible for them to follow this method. In that case, they can rely on their ovens, grills, or smokers to get the job done.
Reheating Brisket in a Smoker/Grill
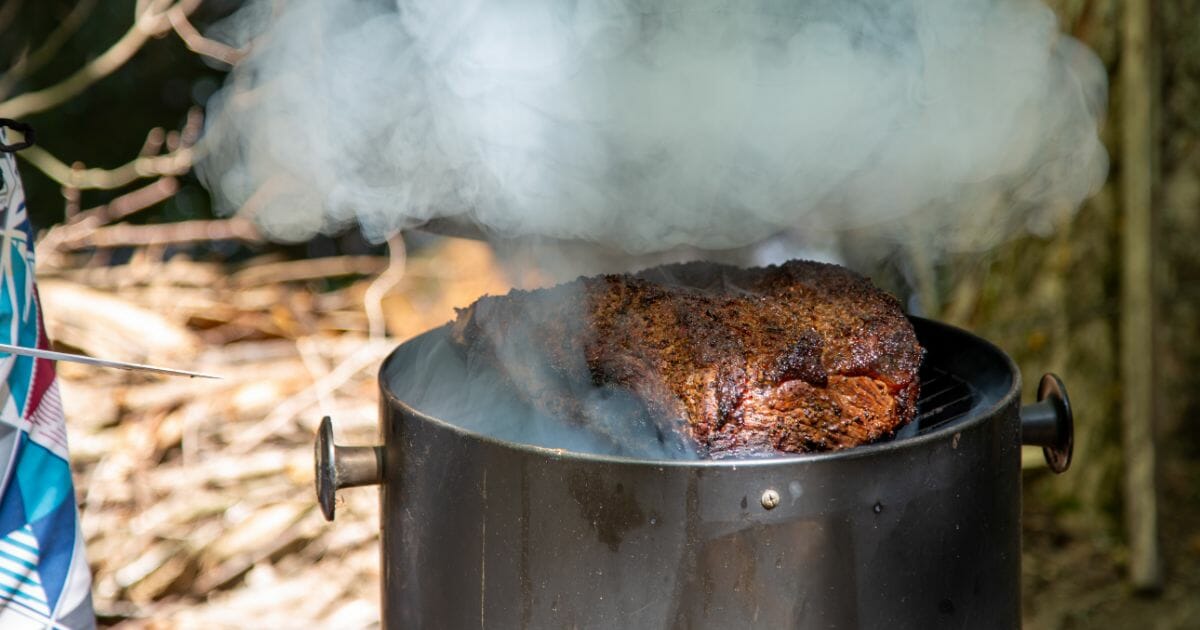
Unlike the previous two methods, the grill requires you to put the brisket on direct heat, so you’ll have to be extra careful not to let it overcook or dry out. Same with the smoker - it might seem easy to use, but improper reheating techniques could leave you with chewy meat you won’t want to eat.
The basics of reheating brisket on a grill or a smoker are the same. There are only a few steps to keep in mind, so here’s how the entire process will go:
- Step 1: Let the brisket unfreeze and reach room temperature. Don’t leave it out for too long, as it could develop bacteria or even go bad. You can move on to the next step as soon as it defrosts.
- Step 2: Get the grill or smoker going. You need the smoker to reach a temperature of about 275 degrees before you can put the brisket in.
- Step 3: As before, we recommend that you wrap the meat in a double layer of aluminum or wrapping paper while adding some leftover cooking juices or broth in it to ensure you get a juicy brisket in the end.
- Step 4: You need to check the brisket often to ensure its internal temperature doesn’t exceed 165 degrees. On a smoker, it could take between 60 and 90 minutes for the brisket to reheat. Or, you might need 20-30 minutes on the grill to get a perfectly reheated brisket.
- Step 5: After the brisket reaches the ideal temperature, remove it from the heat source and the aluminum foil and let it rest before you do anything else.
The process of reheating brisket is very similar to the process of cooking it. So, if you master cooking it on a grill or similar device, you don’t have to fear reheating it—you’ll be a natural at it!
Fixing Dry Brisket + Reheating Alternatives
We covered three main reheating methods that we believe to be convenient and easy to follow, even for those who’ve never reheated a piece of meat before. While you can always stick to those methods, you should also know that a few other alternatives exist.
For example, many people use a slow cooker to reheat brisket. It’s convenient, but it could take 3-4 hours for the meat to reach the desired temperature, and many people don’t have that much time to wait on the meat. Some even try using air fryers for quicker reheating, but these devices require quite a bit of broth or juices to keep the meat moist.
While on the topic of moisture, we also want to mention a few words on fixing dry brisket.
If you see the meat getting a bit too dry while reheating, immediately add some kind of liquid to it. It can be broth, water, a bit of the original cooking juices, some barbecue sauce for added flavor, or even some apple juice or apple cider.
Yes, as unbelievable as it may seem, many people use apple juice when cooking brisket as it gives the meat sweetness and some acidity. If you want to try this for yourself, here’s what you need to do:
- Step 1: Mix two cups of apple juice or apple cider with two tablespoons of your favorite barbecue sauce.
- Step 2: Boil the mixture until it reduces in half.
- Step 3: Add it to your brisket when reheating it.
Trust us—you’ll get an explosion of taste and freshness in your mouth, so much so that you’ll never want to return to the old way of cooking or reheating brisket!
Wrap Up
Thank you for sticking with us through this detailed guide on reheating brisket while keeping it as fresh and moist as possible. We hope you learned a lot of valuable information on how to reheat brisket and that you have a clear idea of which method you want to use the next time you need to reheat your cooked brisket.
Remember that you can always go with a whole piece of brisket or some pre-sliced brisket and follow the same steps given above. The oven method is a fool-proof method we recommend, but you can also try your luck with some other methods.
That said, if you know any other brisket reheating methods you’d like to share with us, please do so in the comments below. We’d love to know how you like your brisket and how often you make it. So, please tell us all about it!
About the Author
Tamara J. Sims
EXECUTE CHEF
As a seasoned kitchen and food writer, Tamara has a remarkable ability to weave words together, transporting readers to the heart of the culinary world. Tamara’s articles are written with an engaging blend of insightful commentary, honesty, and real-world examples based on personal experiences. She has the ability to captivate seasoned food enthusiasts and novice cooks alike.
SeaRanchLodge.com is a participant in the Amazon Associate program and will earn from qualifying purchases.


